3D Laser Scanning: a QA Inspection Tool for Precision Measurements
Precise and accurate mechanical measurements of critical dimensions are a critical part of manufacturing parts and assemblies. Such inspection underlies process validation, quality assurance (QA), first article inspection (FAI), and capability studies.
Those precise and accurate measurements require precise and accurate measurement tools, which is why tools like calipers, gauges, and custom fixtures became the standard tools of QC departments and metrology labs.
Contact CMMsCoordinate-measuring machines (CMMs) became another inspection workhorse. By using a stylus to make very precise measurements in three dimensions (X, Y, and Z coordinates) at designated areas of a part by touching it, that part could then be compared to the dimensions on the drawing for the part to check if the part was within the tolerances specified.
Although automation through direct computer control (DCC) helped speed up the inspection process, the long sample times of contact probe CMMs often made them impractical for scenarios where measuring across entire surfaces of parts is necessary. CMMs are still a great tool for measuring a small number of critical dimensions on parts.
Because of the maturation of optical (non-contact) CMMs and 3D laser scanners, they are now often found alongside traditional contact CMMs in metrology labs. 3D laser scanners in particular have been making deep inroads into manufacturing.
3D Laser Scanners: Probing with Light
3D laser scanners work by quickly moving a laser beam horizontally over an object and then measuring the properties (such as angle and intensity) of the light that gets reflected by the surface of the object.
Since these scanners make many discrete measurements in a single scan, the scanner can read out a stream of two-dimensional data points, (X and Y) which is a very close digital approximation of the continuous surface of the object. Moving the scanner vertically allows a scanner to also record such a stream for the entire height of the object, thus providing the Z coordinates.
Every three-dimensional measurement is then combined in computer software to produce the “point cloud,” the digital representation of the object produced by the scan.
In short, a 3D laser scanner takes measurement “slices” of an object in much the same way 3D printers build items by making one layer at a time.
The increasing adoption of 3D laser scanners is due to the convergence of several trends:- Increasing resolution and decreasing prices of CMOS cameras
- Commercialization of high-bandwidth interfaces (like IEEE 1394 aka “Firewire”)
- Improved CAD/CAM software support for importing and manipulating the large datasets generated by 3D scanners
- Large gains in computing power, available memory, and storage capacity workstation computers over the last several years
- Continued advances in laser diode technology
Together, these factors have pushed the accuracy and affordability of 3D laser scanning devices.
3D laser scanners fill an important niche in QA due to their features, chief among them are the ability to accurately measure dimensions without specialized fixtures, very rapid sampling rates (and thus much shorter part inspection times), and the ability to scan parts that have complex curves or are composed of soft materials like thermoplastic elastomer (TPE).
Why 3D Laser Scanning is a Game ChangerDue to their ability to rapidly and accurately scan the entire surface area of a part, 3D laser scanning has become a must-have tool for manufacturing quality assurance (QA) departments looking to increase product quality while slashing inspection costs.
The point clouds produced by 3D laser scanners can be imported and compared against the dimensions and tolerances of the solid model for the scanned part. This way, a much more comprehensive analysis can be made of the part, quickly leading to improvements in tooling, process, or the part dimensions and tolerances.
3D laser scanners require little training, and can rapidly inspect a part. All of these advantages lead to large cost savings.
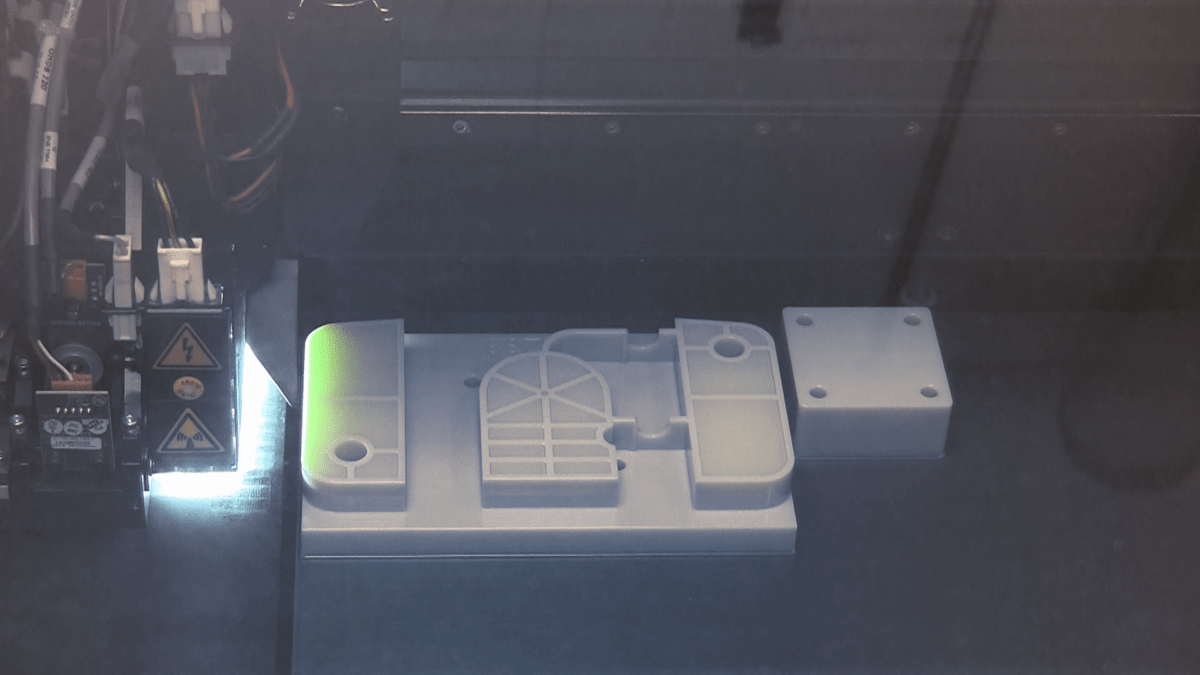
As a contract manufacturer focused on leveraging the latest technology for the benefit of our customers, Crescent utilizes a 3D laser scanner in our quality inspection lab. Our ShapeGrabber Model Ai310 uses an indexing turntable to scan all sides of an object to construct a true 3D model. One of the benefits of this particular scanner is the modular design, which allows us to benefit from scanhead upgrades with little or no disruption for our OEM customers, who benefit from a reliable supply of high quality, tightly toleranced, in-spec parts and complete devices.
Would you like to be one of those OEMs? Learn How Crescent Industries Can Help You!
Topics:
Related Articles
-
Jul 24, 2024
The Evolving Landscape of Custom Injection Molding
Read MoreA big part of establishing your foothold in any industry is adopting—or at the very least, staying...
-
Feb 15, 2024
How to Ensure High Quality Injection Molding: 6 Best Practices
Read MoreThe widely used practice of injection molding is a highly versatile and efficient manufacturing...
-
Feb 01, 2024
Why Should You Work With an ISO 13485 Certified Injection Molder?
Read MoreIn medical device manufacturing, it's important to have a business partner who understands the...
